Had to drive south to Port Hueneme today. When I drive, I always am looking for things to photograph, things that catch my eye, things that tell a story. Today’s trip was no different.
Except this was NOT a ‘drive-by shooting’ ! ! ! I pulled to the side of the road to photograph this water tank.
Is it a sign of the times ? Or is it simply graffiti ? I might have to agree to both. But I thought it was appropriate . . . both from the ‘fear’ perspective and from the ‘I mean business’ attitude of both artists.
I added a bit of extra Lightroom enhancement to this image by increasing the saturation and using the clarity slider towards the negative position.
TODAY’S IMAGE
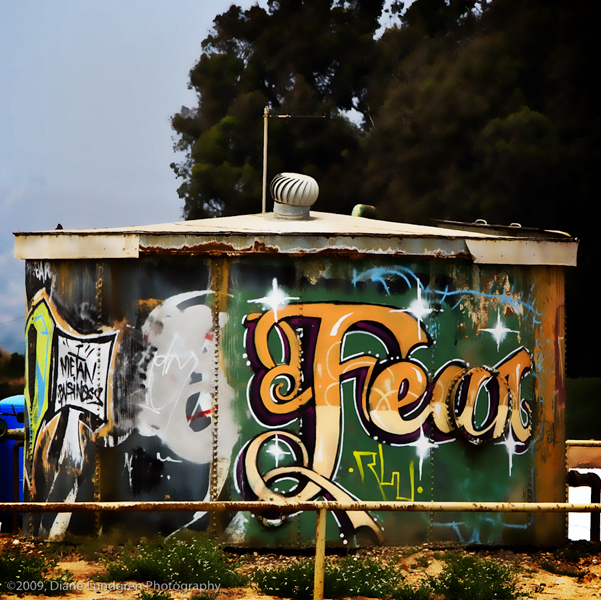 a sign of the times camera type: Canon EOS 5D
lens type: Canon EF70-200mm f/2.8L IS USM, 195mm
exposure: 1/1600s @ f/8
ISO: ISO 400
post-production: Lightroom 2.0
location: Santa Barbara, CA – Channel Islands Blvd, Ventura/Oxnard
Another flower – from my backyard, this time a yellow poppy. Hmm . . m . . m, I see a pattern arising here.
Perhaps it is on those days that I don’t get out around town or to a clients consultation or a photo shoot, that I find I just have to get out and shoot – something, anything – not for this project, but just to shoot.
It’s like there is something inside of me that is satisfied when I have a camera in my hand. But there is more to it than that. Seeing something in my minds eye (I have mentioned this before in an earlier post) and re-creating it on film (okay digital media) gives me such a sense of appreciation and fulfillment. If one was so inclined, one could say ~ it makes me happy!
But the pleasure doesn’t necessarily come from flowers or shooting or post-production (heaven knows this is the time consuming part), it comes from the creation and the expression of what is inside oneself at the moment.
Guess I feel bright and sunshiny today!
TODAY’S IMAGE
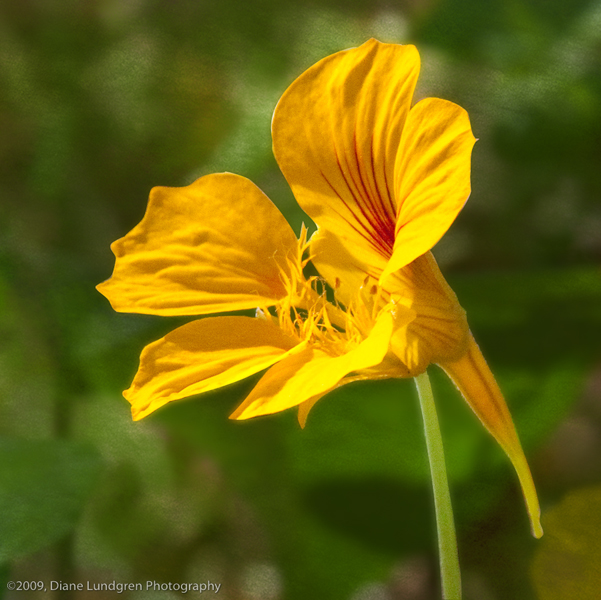 yellow poppy camera type: Canon EOS 10D
lens type: Tamron AF 28-300mm f/3.5-6.3, 300mm
exposure: 1/400s @ f/8
ISO: ISO 1600
post-production: Lightroom 2.0
location: Santa Barbara, CA – Cinco Amigos
On a recent walk in downtown Santa Barbara, I sauntered by this yard that had a garden decoration in the front. It reminded me of my grandmother! Of all things to remind me of, but it did.
My grandmother, we called her ‘Nana’, was truly a saint! She helped raise we 10 children while both of my parents worked. And none of us were angels! On my ‘Nana’s’ dresser sat two small ceramic sculptures, one a young girl and the other a young boy. If my memory serves me well, one was playing a flute, while the other covered their ears, but for the life of me, I can’t remember who was doing which.
My ‘Nana’ died in 1995 at the age of 95, she was an amazingly gracious and patient woman. As I walked past this yard, the sculpture remind me so much of her, and I am sure the picture perfect children she wanted us to be! How sweet to see an older sister reading to a younger brother. Nana, this image is in memory of you . . .
TODAY’S IMAGE
 in memory of my 'Nana' ~ big sister camera type: Canon EOS 10D
lens type: Tamron AF 28-300mm f/3.5-6.3, 119mm
exposure: 1/160s @ f/14
ISO: ISO 400
post-production: Lightroom 2.0
location: Santa Barbara, CA – Cota Street
A poppy in my side yard. Not a whole lot to say about this image, except that I have noticed I am taking a lot of pictures of flowers. No comments yet . . .
TODAY’S IMAGE
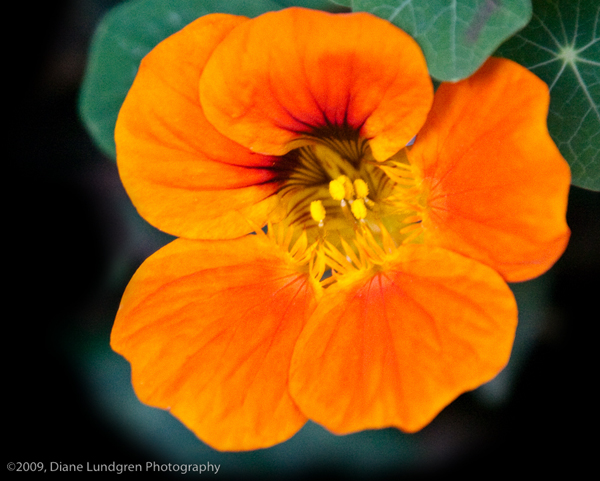 orange poppy camera type: Canon EOS 10D
lens type: Tamron AF 28-300mm f/3.5-6.3, 300mm
exposure: 1/500s @ f/6.3
ISO: ISO 1600
post-production: Lightroom 2.0
location: Santa Barbara, CA – Cinco Amigos
June 20th, 2009 | Category: Tutorials First I have to mention the creator of this crazy and zany approach to developing film, because I would never have thought of it, even in my wildest dreams. And my search on the internet really didn’t lead me to the originator, but it did lead me to PhotoJojo whom I would have to say really pushed this idea forward into the public realm.
Below is the very condensed version of this process. It has been adapted from the instructions from the workshop handout by Glen Hodges, Jr. of Specialty Color Services:
INGREDIENTS:
1. Instant Coffee Crystals (not decaf) – 5 teaspoons
2. Vitamin C Powder – 1/2 teaspoon
3. Soda Ash /Washing Soda (Na2 CO3) or 100% Sodium Carbonate
(this can be found at a pool supply store)
4. Distilled water or tap water – about 2 gallons @ room temperature
EQUIPMENT: The normal darkroom developer items
1. daylight developing tank and reel
2. bottle opener – to pry open the film real if using 35mm
3. measuring beakers
4. fixer
5. timer, clothespins, scissors, squeegee (or you can use your fingers)
STEPS TO CREATE THE DEVELOPER:
1. Mix the Vitamin C & Coffee in a glass with 6 ounces of water. Stir until all of the crystals and grains of both ingredients are completely dissolved. It is best to use HOT water for dissolving both items, because then you will know that all the granules are dissolved well. However, this means you will then need to cool down the mixture to a normal 68˚F – but we will get to that in step 3
2. Mix the Soda ash (sodium carbonate) in a separate glass with 6 ounces of water and stir until completely dissolved
3. When ready to make the final developer, combine both liquids in a beaker larger enough to contain both mixes. Cool the water down to 68˚F – this can be down more rapidly by putting the beaker (or whatever container you have combined both liquids in) into a bucket of ice or ice water.
DEVELOPING:
Total processing time is about 14 minutes – set your timer! Pour the combined liquids (aka the developer) into the processing tank. Agitate constantly for the first minute (see NOTE 1 below). After the first minute, agitate the tank 3 times per minutes until the remaining 13 minutes are completed.
STOP:
When the developing time is complete, pour out the developer and fill the tank with water. Agitate 6 times and then pour out the water. Repeat this step 2 more times.
FIXING:
Pour out the water and fill the tank with fixer. Fix for 5 minutes and agitate throughout the fix time – 3 agitations per minute.
FINAL WASH:
Pour out the fixer and fill the tank with water. Agitate 3 times and pour out the water. Refill the tank with fresh water and agitate 6 times. Pour out, refill and agitate 12 times. Pour out the last amount of water and your developing process is complete! You are now ready to remove the reel and film from the tank to dry. It is recommended this be in an area that doesn’t have a lot of dust particles (a shower stall in a bath that doesn’t get heavy traffic flow is a great recommendation) or wind. It is also recommended that the film, once hung, be squeegeed to remove excess water drips.
NOTE 1:
Agitating: Most of us have been taught to ‘agitate’ by turning our developing tank upside down, giving it a 1/4 to 1/2 twist rotation and then turn the tank back to its original position – this entire action is one full agitation. However, with the coffee based developer, no rotation should be performed during the upside down/right side up process. According to Glen Hodges, Jr, any rotation causes streaks and/or striations to occur on the film. In most cases this is not a desired effect – but, you may want to experiment and try it!
RESOURCES:
For a more concise and complete explanation of all these steps, with pictures to guide you through the entire process, please visit PhotoJojo’s tutorial. To see how all of this work’s using coffee as a print developer, please visit Tom Overton’s website. He has done some testing with different papers, including fiber based papers, and posted his comments and experimentations here.
This is a space for visual effects only.
Migrant workers on lunch break.
You probably aren’t going to believe me when I tell you that this image was taken while I was driving – on Harbor Blvd down in Ventura. I have this bad habit of photographing while I am driving – and no, I don’t look through the viewfinder while I am doing it!
This is true point-and-shoot at it’s finest. After at least a 1000 messed up images, however, I now have a few presets for the camera prior to shooting in this manner. First, the lens is set to wide open, usually f/2.8 to get the most light I can to stop the motion of my driving past the subject – blur only goes so far!; and second, I take the camera off auto focus and preset the focus at infinity – to many focuses on the window or bug splats only goes so far! I am also at a higher ISO so the exposure is faster and the moving action is stopped.
This image has had a bit of post production manipulation done to it in Photoshop, such as the artistic effect of the watercolor filter, selective increase of saturation, and Gaussian blur on the background mountains – some of it to compensate or adjust for shooting through my tinted windows, some of it just to play with effects. Not sure I like the ‘halo’ effect around the trees, though – but since these images are not for clients, I only allocate so much time to play/manipulate them or take them through any type of editing routine.
TODAY’S IMAGE
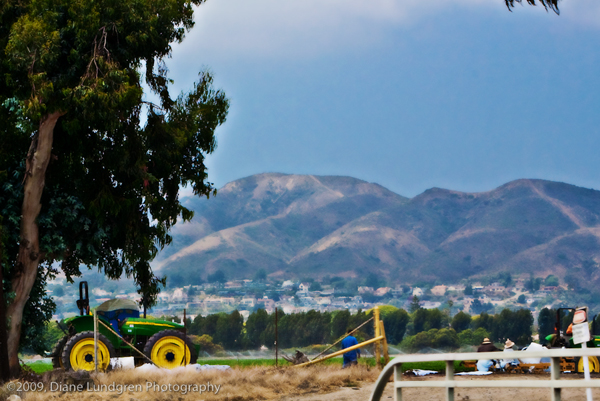 lunch break camera type: Canon EOS 5D
lens type: Canon EF70-200mm f/2.8L USM, 110mm
exposure: 1/1250s @ f/8.0
ISO: ISO 400
post-production: Lightroom 2.0 and Photoshop CS3
location: Venturs, CA – Harbor Blvd in Ventura, CA
What would you think if I told you you could develop film in coffee?
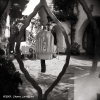
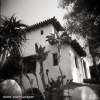
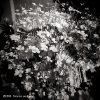
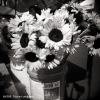
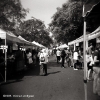
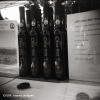
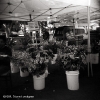
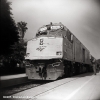
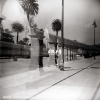
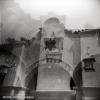
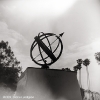
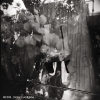
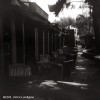
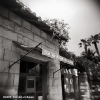
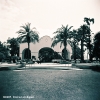
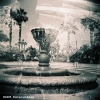
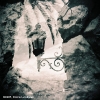
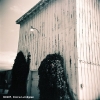
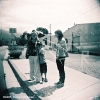
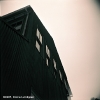
Either you would tell me I’m crazy or you would do what I did – search the internet for it’s validity – and then sign up for the workshop to get your hands dirty! Specialty Color Services of Santa Barbara was the host to this great workshop. It was a $10 investment on my part, but what I got from it was worth way more! Not only did I shoot film for the first time in 2 1/2 years, I used a Holga (long dubbed a ‘toy camera’) medium format plastic camera!
Let me take a few minutes to introduce you to the Holga. The body is plastic, there are no aperture controls except for the back-and-forth switch which shows a picture of clouds in one direction (which ultimately exposes your film at f/8 and is strictly recommended for cloudy days or inside exposing) and a picture of the sun (exposing your film at f/11) in the opposing direction; and focus is obtained through a variety of 4 adjustments: 1 man = 3.25ft, 2 men = 6.25 ft, 8 men = 22ft, and a mountain = 33ft. There is one other switch on the bottom of the camera which allows you to chose a normal exposure or a bulbed exposure. There is also the option to chose frame size or rather the number of frames per roll of film from 12 to 16 or square versus rectangular respectively, depending on the film size mask you insert into the camera. That’s it! That’s all the control you have as the operator!
What else can I tell you about the Holga? Oh yeah – it is notorious for its light leaks, fuzzy and vignetted corners, parallax error and double exposures. I think the possibility for double exposures is greater now than ever before, especially in this digital world where taking multiple shots with continuous burst rates of up to 9 fps is commonplace on many of the DSLRs. Having said that, all of the double exposures in these images were intentional (well, almost all of them) – nothing like having Photoshop in your camera – you don’t even have to increase file size by adding layers! WOO HOO!
This first roll of film was with the Holga straight out of the box. Even though I bought it 2 years ago, it sat in my camera locker untouched all this time. And you will see by the first shot how good but lacking it is: this is Tony Morey of Specialty Color Services (their amazing printer and photography guru) who needed to help me unstick the shutter – a finely tuned mechanism . . . a cheap thin piece of wire disguised as a spring!
So, this first gallery was shot on an expired (June of 2002) roll of Ilford’s Delta 100 Black&White medium format film.
Going back to film with a toy camera is quite the adventure! I think the biggest curve ball thrown at me during this workshop was limiting myself to 12 exposures over the course of 2 hours – I couldn’t do it! Neither could most of the other attendees. We each ended up shooting 2-3 rolls!
This second roll of film was also expired, though I was trying to load it and keep up with the walking photo tour, so I never did check the exact date of expiration. It is Kodak’s TMax 100.
My last roll of film for the day. It is one I brought from home – FujiFilm’s Fujicolor Pro 160C which expires in August of 2009. During my preliminary research into this development of film in coffee, I had read about the differing effects received by using color film – and apparently you never know exactly what result you will achieve – it all depends on the film type. This one rocks! The cyanotype effect is my favorite!
So there you have it – the 3 rolls I shot that day and the resulting images.
In my next post, I will discuss how to actually do the developing.
This is a space for visual effects only.
Another day that starts ‘around the corner and down the street’. The question we should be asking is, where are we at when we start.
A small church on the corner of Garden and Cota Streets ( I told you Cota Street was my second home). Iglesia something . . . I must get in the habit of carrying a small notebook with me to jot these locations and building names down. Or, as Ralph Clevenger would suggest, take a picture of the plaque or information as you are shooting – what a brilliant idea!
Perhaps this is a good time to tell you about Ralph. Ralph is an amazing nature photographer and instructor at Brooks Institute. He has much wisdom and experience not only in photography, but also in the submission of images for magazines, editorials and stock. He teaches nature, stock photography, underwater and video production classes at Brooks and has the most wonderful humor – guess he might have to in order to put up with students. His big push to students is twofold: composition and keywording & metadata. It is simply not enough to take the image, you should know what you are shooting, and if you don’t at the time you are shooting, then you should before it goes out to anyone – now do you see why I reference him so much?
The teacher has taught well, and really, the student has learned well – the student is merely lazy – ouch, not good!
Sidetracked a bit – now back to the image of the day
TODAY’S IMAGE
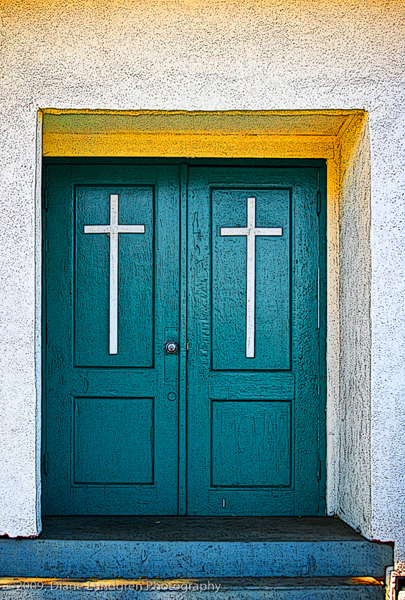 two crosses Canon EOS 10D
lens type: Tamron AF 28-300mm f/4.5-6.3, 32mm
exposure: 1/320s @ f/4.5
ISO: ISO 200
post-production: Lightroom 2.0
location: Santa Barbara, CA – Garden and Cota Streets, on the corner
Yesterday I was fairly proud of myself for knowing the name of the Jacaranda Tree. Today I am not so fortunate, and a search on the internet for succulents has left me clueless.
I think this is a Hens and Chicken variety (echeveria), but I never saw new sprouts/shoots around this large succulent to say for certain that is what it is.
I was simply interested in the repeating patterns and the way the sun was hitting it. This image has had extensive retouching done to it in Photoshop: the lower layers had an amazing amount of debris collected on the petals that I removed; the levels/contrast was adjusted to remove as much dark tonality as possible; and grain was added to the entire image.
TODAY’S IMAGE
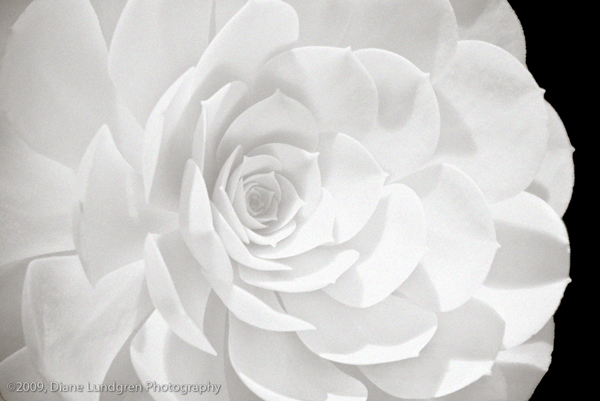 hens and chicks - this one has got to be the hen ! camera type: Canon EOS 10D
lens type: Tamron AF 28-300mm f/3.5-6.3, 238mm
exposure: 1/500s @ f/6.3
ISO: ISO 400
post-production: Lightroom 2.0 and Photoshop
location: Santa Barbara, CA – Cinco Amigos
Have you seen those purple trees around town? They typically bloom from April through June, some even linger a little longer? Do you have them in your yard?
I do! And while they are quite beautiful, sometimes the mess they leave behind is not quite so . . . well, let’s say, wonderful. Where I live, the Homowner’s Association has contracted yard service, which happens every Monday and Thursday – I’m lovin this, cause I don’t need to own a lawnmower, weed eater, rake, shovel – well, you get the picture – moreover, I don’t need to use those tools – I am lovin that even better!
[oh yeah, back on track] They come, clean, rake, do all this stuff and within 10 minutes, the yard, the sidewalk, the drive way, the cars – and even you, if you stand there long enough – are covered with these purple blooms – it’s like raining purple. Today’s image could be a tribute to the fallen ones, but mostly it’s a testimony to the proliferation of blooms and the mess they make – seriously, 10 minutes after the man raked my yard!
And yes, I got down on the ground and laid on my stomach to take this image – forgot about the sprinklers though! [duh!] Oh, this one is for Ralph Clevenger – I do know the name of these trees, they are Jacaranda Trees. Remind me to tell you a little about Ralph one of these days . . .
TODAY’S IMAGE
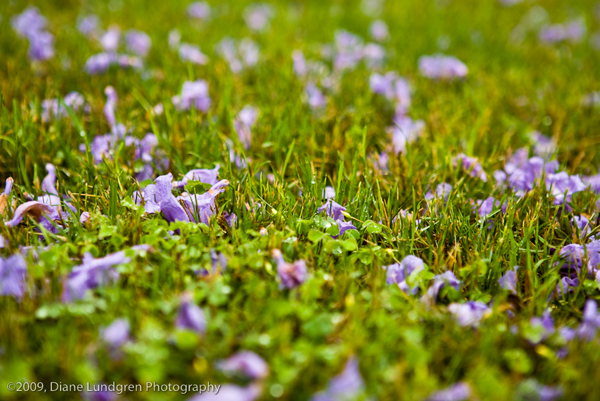 raining purple camera type: Canon EOS 5D
lens type: Canon EF24-70mm f/2.8L USM, 70mm
exposure: 1/500s @ f/3.5
ISO: ISO 400
post-production: Lightroom 2.0
location: Santa Barbara, CA – Cinco Amigos
|
|


